How to replace the LED backlight strip of TV LCD
LCD TV backlight method produced in recent years is almost all LED backlight. Nowadays, the backlight of LED LCD TV has entered the peak of maintenance, especially in the last two years of television sets, the failure rate of LED backlight strip is particularly high.
LED strip features
LED LCD backlight has multiple groups of LED lights. The backlight is divided into two types of irradiation, slightly different structure: one is the back transparent direct down type, the light source is installed directly on the back of the LCD panel, LED lights directly irradiate the LCD panel. This method often has 4 groups, 6 groups or more groups of LED lights. The second is the side-transparent type. The light source is installed on the side of the thick light guide plate. This method often has one or two groups of LED lights. The arrangement of the two types of backlighting is different.
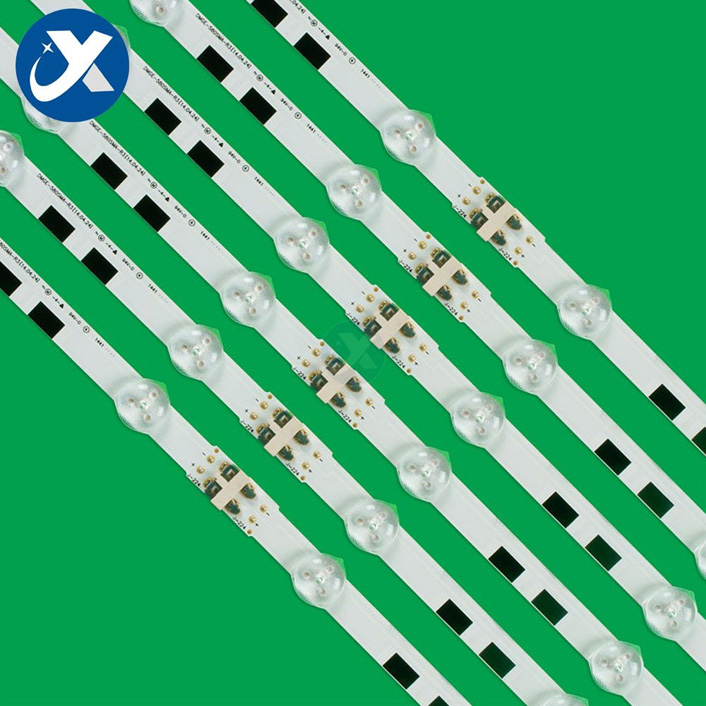
The performance and parameters of several groups of LED lights on the same screen are the same. Each group of LED lights consists of several LED beads, and each LED unit is assembled on a metal strip by a press welding process. Each group consists of multiple LED beads connected in series. How to distinguish whether all the LED beads on an LED strip are connected in series or in segments in series? One is to look at the power socket on the metal strip, and one is to look at the numbers on the metal strip. If there are only two pins in the socket, it means that all the LED beads on this strip are connected in series. If there are only three pins in the socket, it means that the LED beads on this strip are connected in series in two groups. Another way to differentiate is by the number marked on the beads on the strip. Regular light bars have numbers on the edges of the LED beads. For example, if the total number of beads on a strip is 52 LEDs, and the number marked is from "1" to "52", it means 52 LEDs are connected in series. For example, if there are 60 LEDs on a light bar, the numbers marked from "1" to "20" are "1" to "20" respectively. "20" means that 20 capsules are connected in series to form a group, a total of 3 groups.
Each light bead on a normal light bar is powered by 3.2V. How many light beads on a light bar, divided into how many light beads for a group, so that you can accurately calculate the power supply voltage. For example, two light bars have completely different models, but the length of the light bar and the power supply interface are the same. Whether they can be replaced, we need to use the method described above to calculate the supply voltage and check whether the lamp bead current is consistent.
Recommended article:
Push Buttons & Signal Timing - PEDBIKESAFE
Explore Power Distribution Box Types and Functions
RF Cable Assembly: The Backbone of Seamless Communication
USB-C Cables: Empowering Connectivity and Efficiency
Understanding Deep Cycle Battery Packs
Understanding Wire Wound Resistors: A Comprehensive Guide
Demystifying Power Bank PCB Assembly: A Comprehensive Guide
How to replace the TV LCD LED backlight strip
First, replace the lamp or LED light bar as follows.
① → Although the failure rate of LCD color TV lamp or LED strip is not high, aging, fire or damage happens from time to time. If the lamp or LED strip is confirmed to be abnormal, the LCD should be removed when repairing or replacing it. Due to the fragility of the LCD panel, the LCD panel internal structure is precise and requires careful operation in accordance with certain steps when disassembling.
Second, the lamp replacement instructions.
①→ Strictly speaking, the whole operation process of replacing the lamp or LED strip should be carried out in a dust-free environment. The actual operation should be carried out as far as possible in an environment with little dust or with dust control measures. If possible, you can borrow a glass cabinet and use its clean interior space for cleaning
surgery.
② → Clean white gloves must be worn during operation to prevent hands from being left on the LCD panel or leveling assembly
fingerprints.
③ → The removed screws should be sorted and marked to prevent mistakes during installation.
④ → The workbench must be covered with a clean soft cloth or sponge pad to protect the LCD panel.
⑤ → Before installing the LCD module, the surface should be dusted. Replace the lamp need to prepare the following tools: a small one-word screwdriver and small cross screwdriver, a pair of rubber gloves, hard thin plastic sheet <such as cell phone number card and scrap bank card>, new lamp or LED strip, several diameter of 1.5mm, 2mm and 4mm heat shrinkable sleeve, sponge pad, dust-free cloth, needle <or needle>, tweezers, tape paper, soldering iron, anti-static hand ring, and so on
Recommended article:The Versatile Eye Bolt: A Practical Solution for Various Applications
Unleashing the Power of TFT Display Modules
Advantages of Vertiv Liebert UPS Rectifier Cabinets
Why Choose Vertiv Liebert CRV Precision Air-Conditioned?
Choosing the Right Power Battery for Electric Vehicles
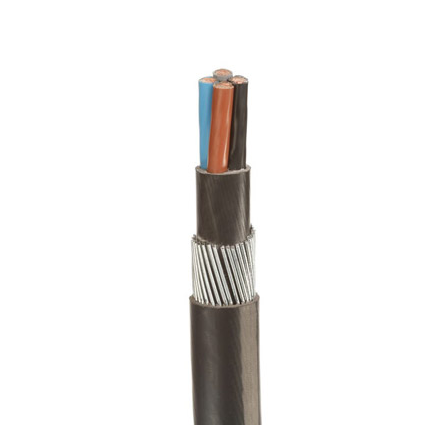
What is the Difference Between SWA and Armoured Cable?
Understanding the Difference Between SWA and Armoured Cable
- 0
- 1062
- 0
- 0


